Drupal tutorial for Alternative Ceremony
This section will focus on how to edit your ministers page. Once you have created your ministers page you will want to make a variety of other adjustments both technical and personal to your page. Personalising options include changing textual content, adding your own images in the left hand column, or to the slideshow on the top of the page. Technical adjustments are mostly search engine related.
First login at https://alternativeceremony.org/user.
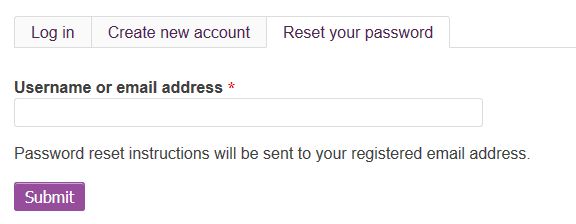
If you forget your password, go to the /user page and click 'Reset your password' then enter your email address and it will email you a link that lets you reset your password..
Your profile
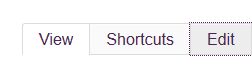
After you login if you click the main Edit button (pictured below), you will then be taken to your profile page which is where you can edit your address, phone number, email address and password as well as your profile picture that appears on both your page and on the Find a Minister Page.
Your page(s)
Each minister has one page when the site's created, however if you would like to add multiple pages (e.g. a main page for weddings and a second page detailing other ceremonies you offer), please email seo@indigoextra.com and Martin or one of the Indigoextra team will create the extra pages for you.
To edit your pages, click [-Edit-] next to the appropriate page. You can also logout, by clicking [-Logout-]

IMAGES FOR TOP SLIDESHOW
This section provides your image slideshow entry point. By default one image is automatically displayed for you in your default slideshow. It is recommended that you enter slideshow images of "933px" wide and "361px" tall. However, the website software, Drupal, does a very good job of scaling and cropping any image that you enter.
Click on "Browse", then search for the file you wish to upload and select it. Next you must click on the "Open" button to explicitly upload the image. By default you are provided with two slots for uploading photos. In order to add more slots to add additional photos use the "Add a new file" button, to obtain another file selection/upload slot. You must then "Save" your "Ministers" page before the uploaded image will be actually be associated with and displayed on your page.
Other Sections
Each other section is then comprised of 3 elements:
- Header - (Optional) The sub-heading for that section
- Image - One or more images that go with the section
- Text - The text for the section
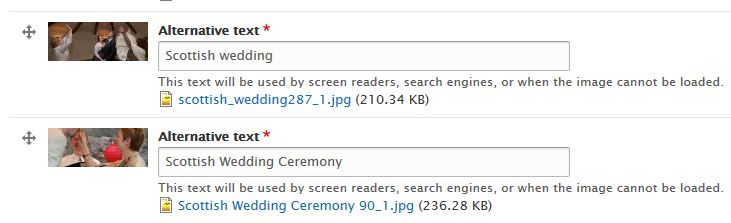
Images are uploaded in the same way as they are above and Drupal will automatically resize images to an appropriate size and display them in the left-hand column on monitors, or above each section of text on mobile devices using a responsive design.
You can have as many images as you like per section, so for example you could have one long section with 10 images and a long block of text, or you could have one image per section and make each section just a paragraph long, whichever suits you best.
The Alternative Text on images is useful for SEO to tell search engines what the image is about and by visitors using screen readers.
For more information on editing your page, please see the Drupal tutorial.
META TAGS
Meta tags provide information about each page to search engines.
Title - The main title that appears in the search results. Should be under 60 characters long, written like a proper sentence and include words like 'wedding celebrant' plus a geographic location (e.g. Interfaith wedding celebrant in North Scotland).
Description - This is your synopsis of the page and should be used to sell yourself to people looking at a list of search results. The Description should entice visitors to click your site. Google won't place your site higher or lower based on the Description. Do not just put a list of keywords in here, that's what the Keyword field is for!
Keywords - Search engines ignore this field, so you can too.
PUBLISHING OPTIONS
If you're working on a page, but don't finish it in one go, click to expand 'Publishing Options', then untick 'Published'. This will mean that only site administrators will be able to see this page.
To publish the page once you have finished it, simply tick 'Published' again.
SAVE
This is the most important button on the Create Content page - remember to press 'Save' once you've finished creating or editing a page!
Alternatively, press 'Preview', which shows you what the page looks like, then scroll down to the bottom and press 'Save'.